Design Process
Research:
Research is a good way for designers to begin getting ideas and a better grasp of what they should be doing. when it comes to their own work. When researching, a designer should never plagiarize another’s work but instead, find inspiration in it.
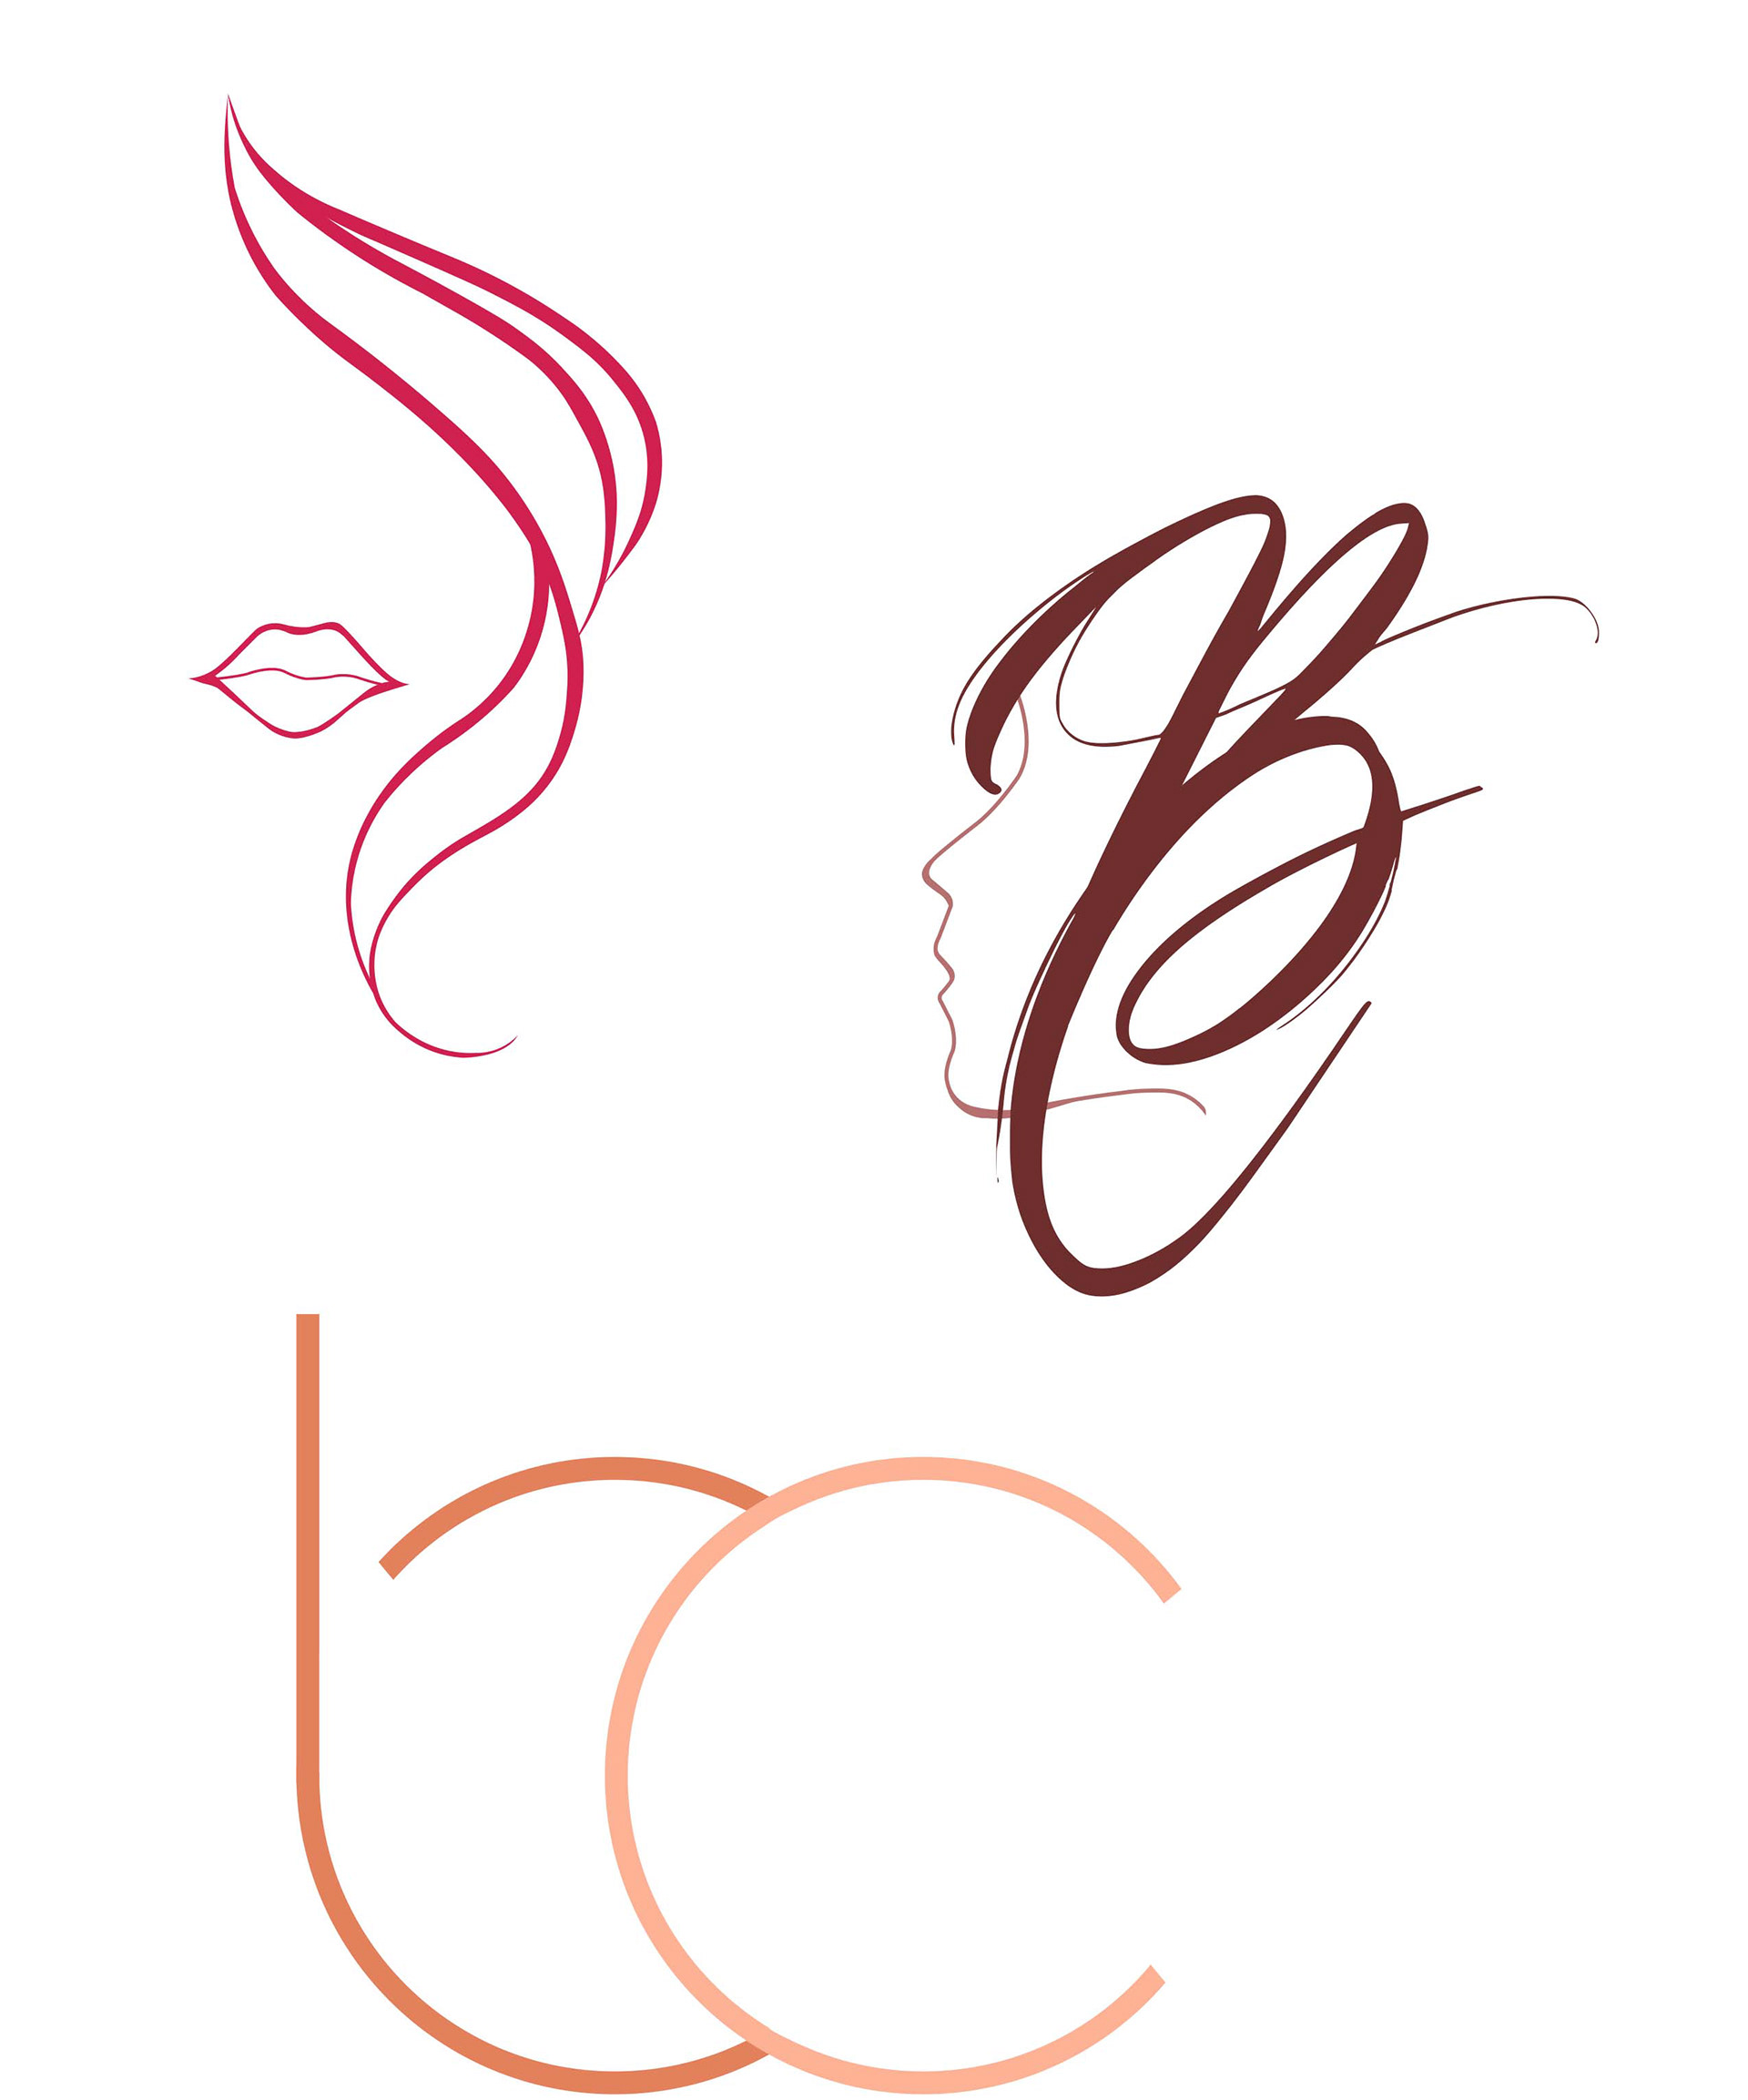
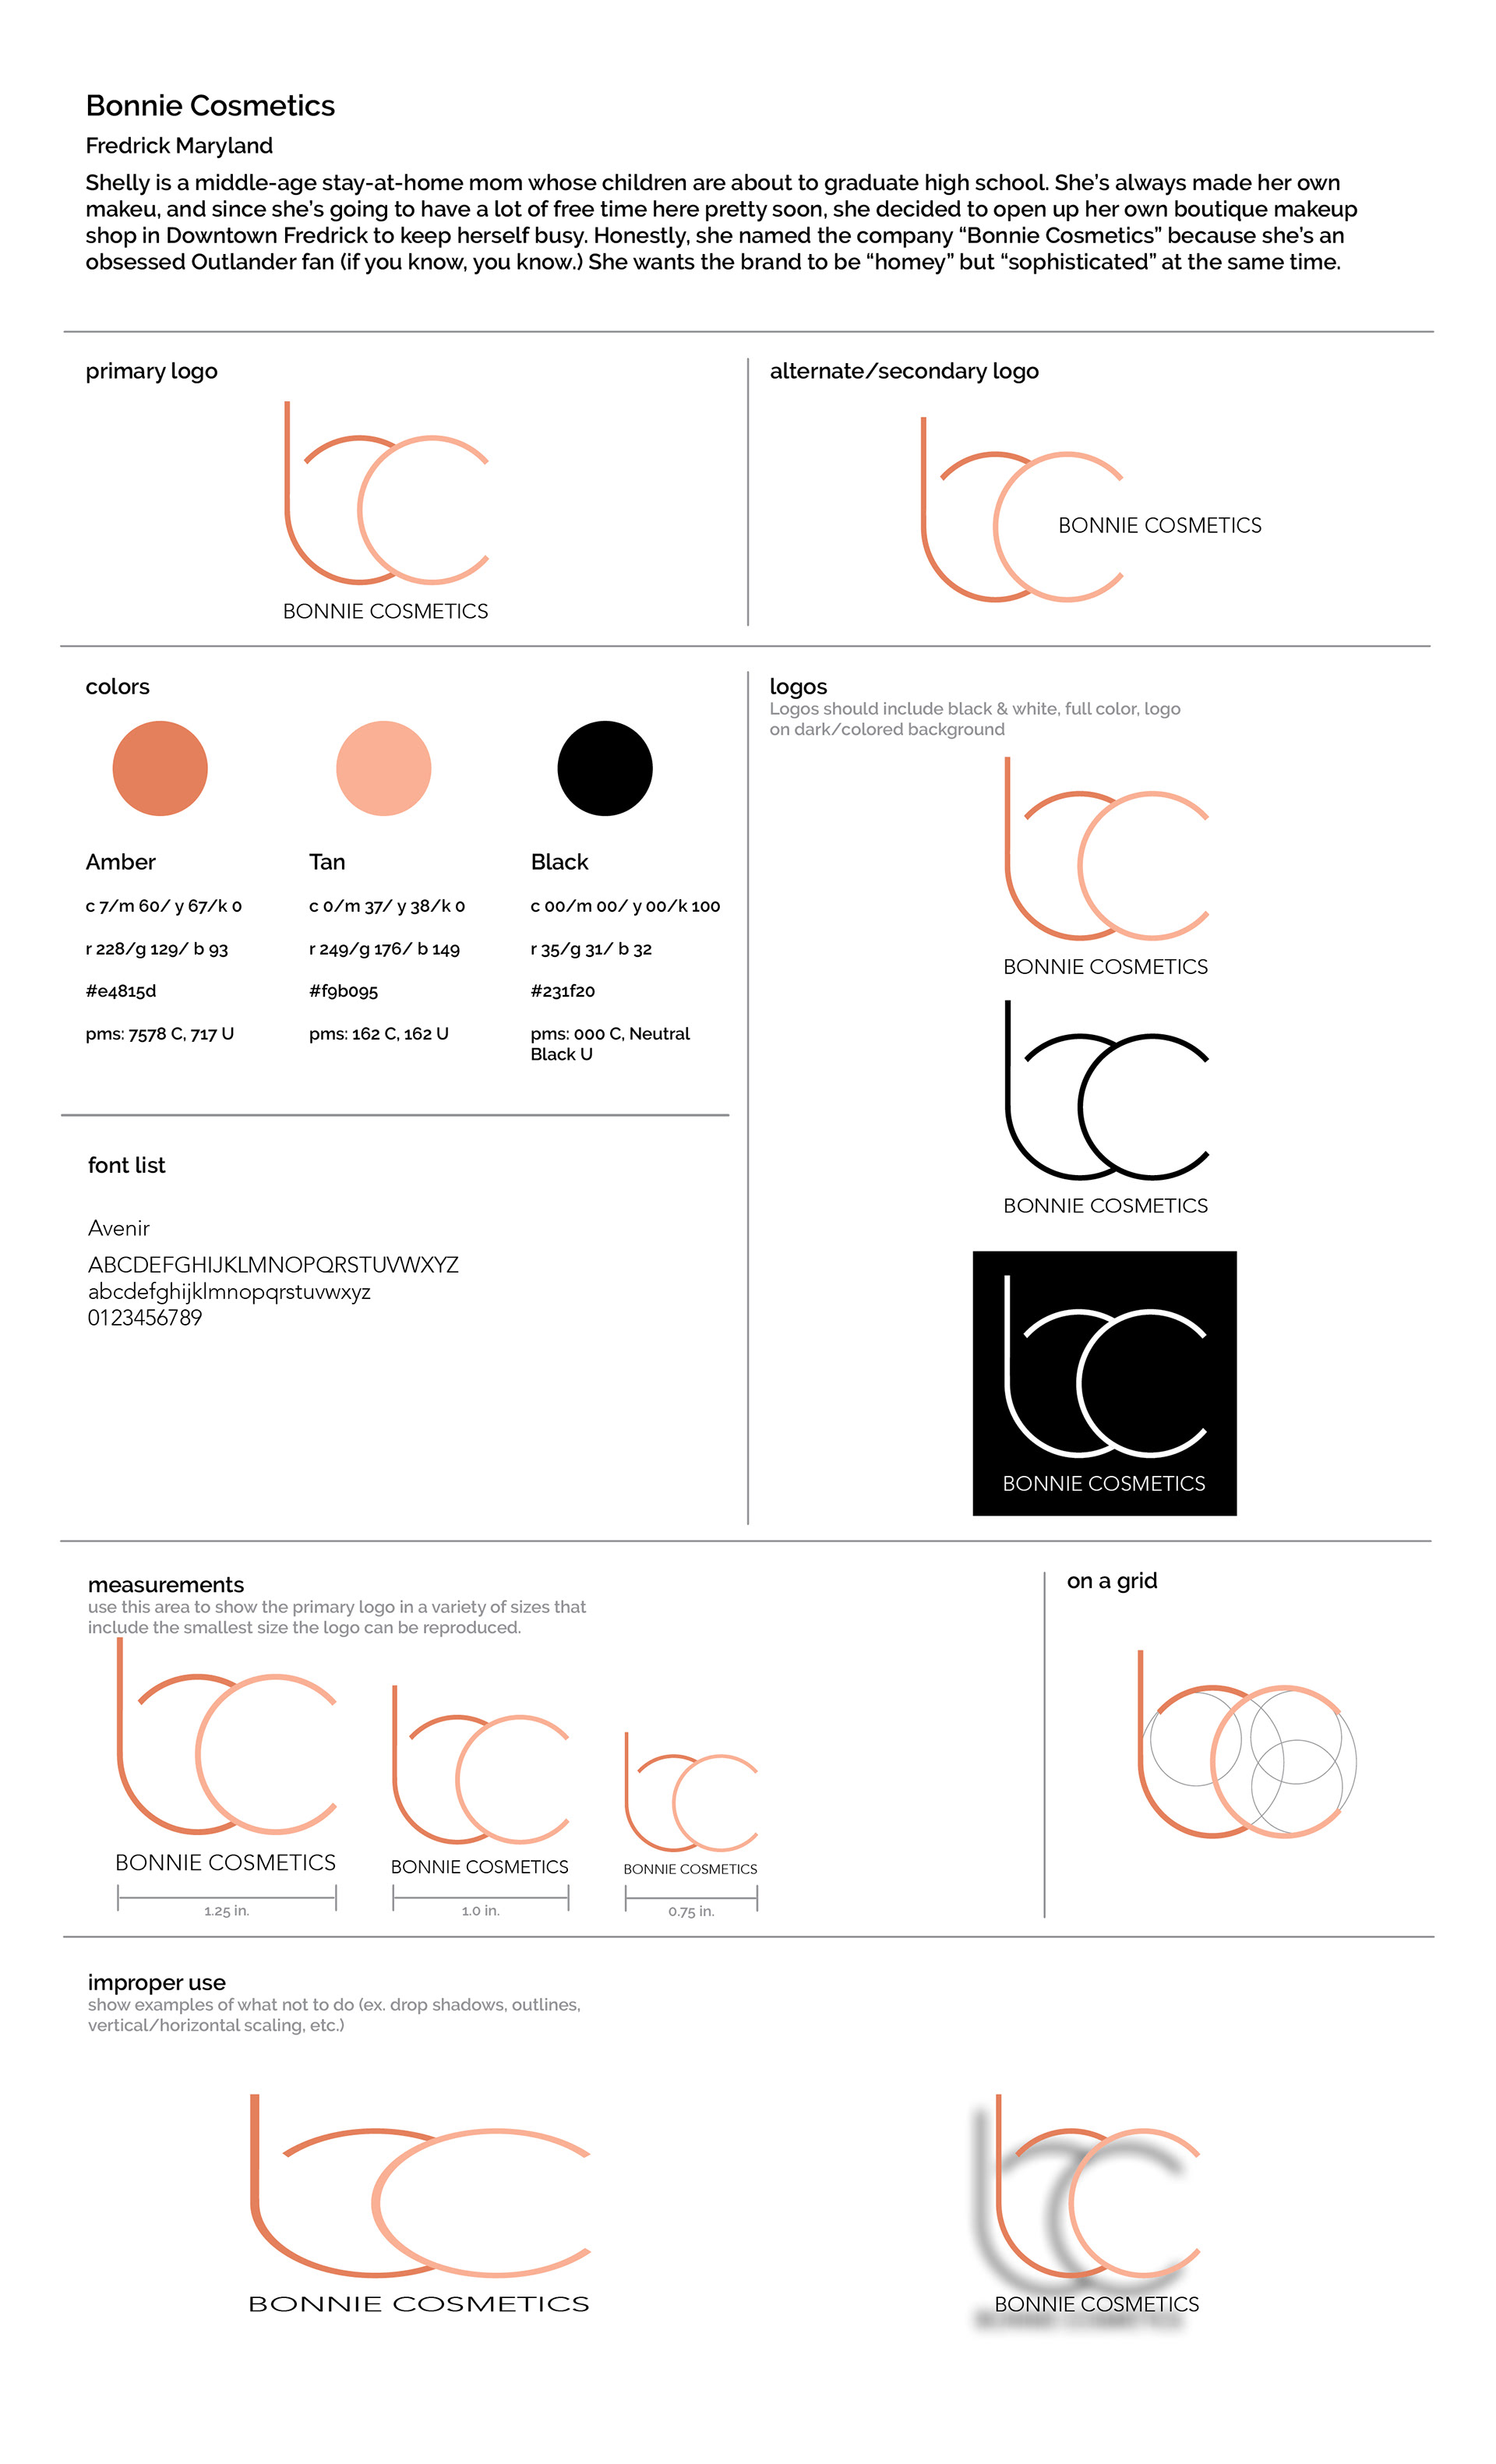
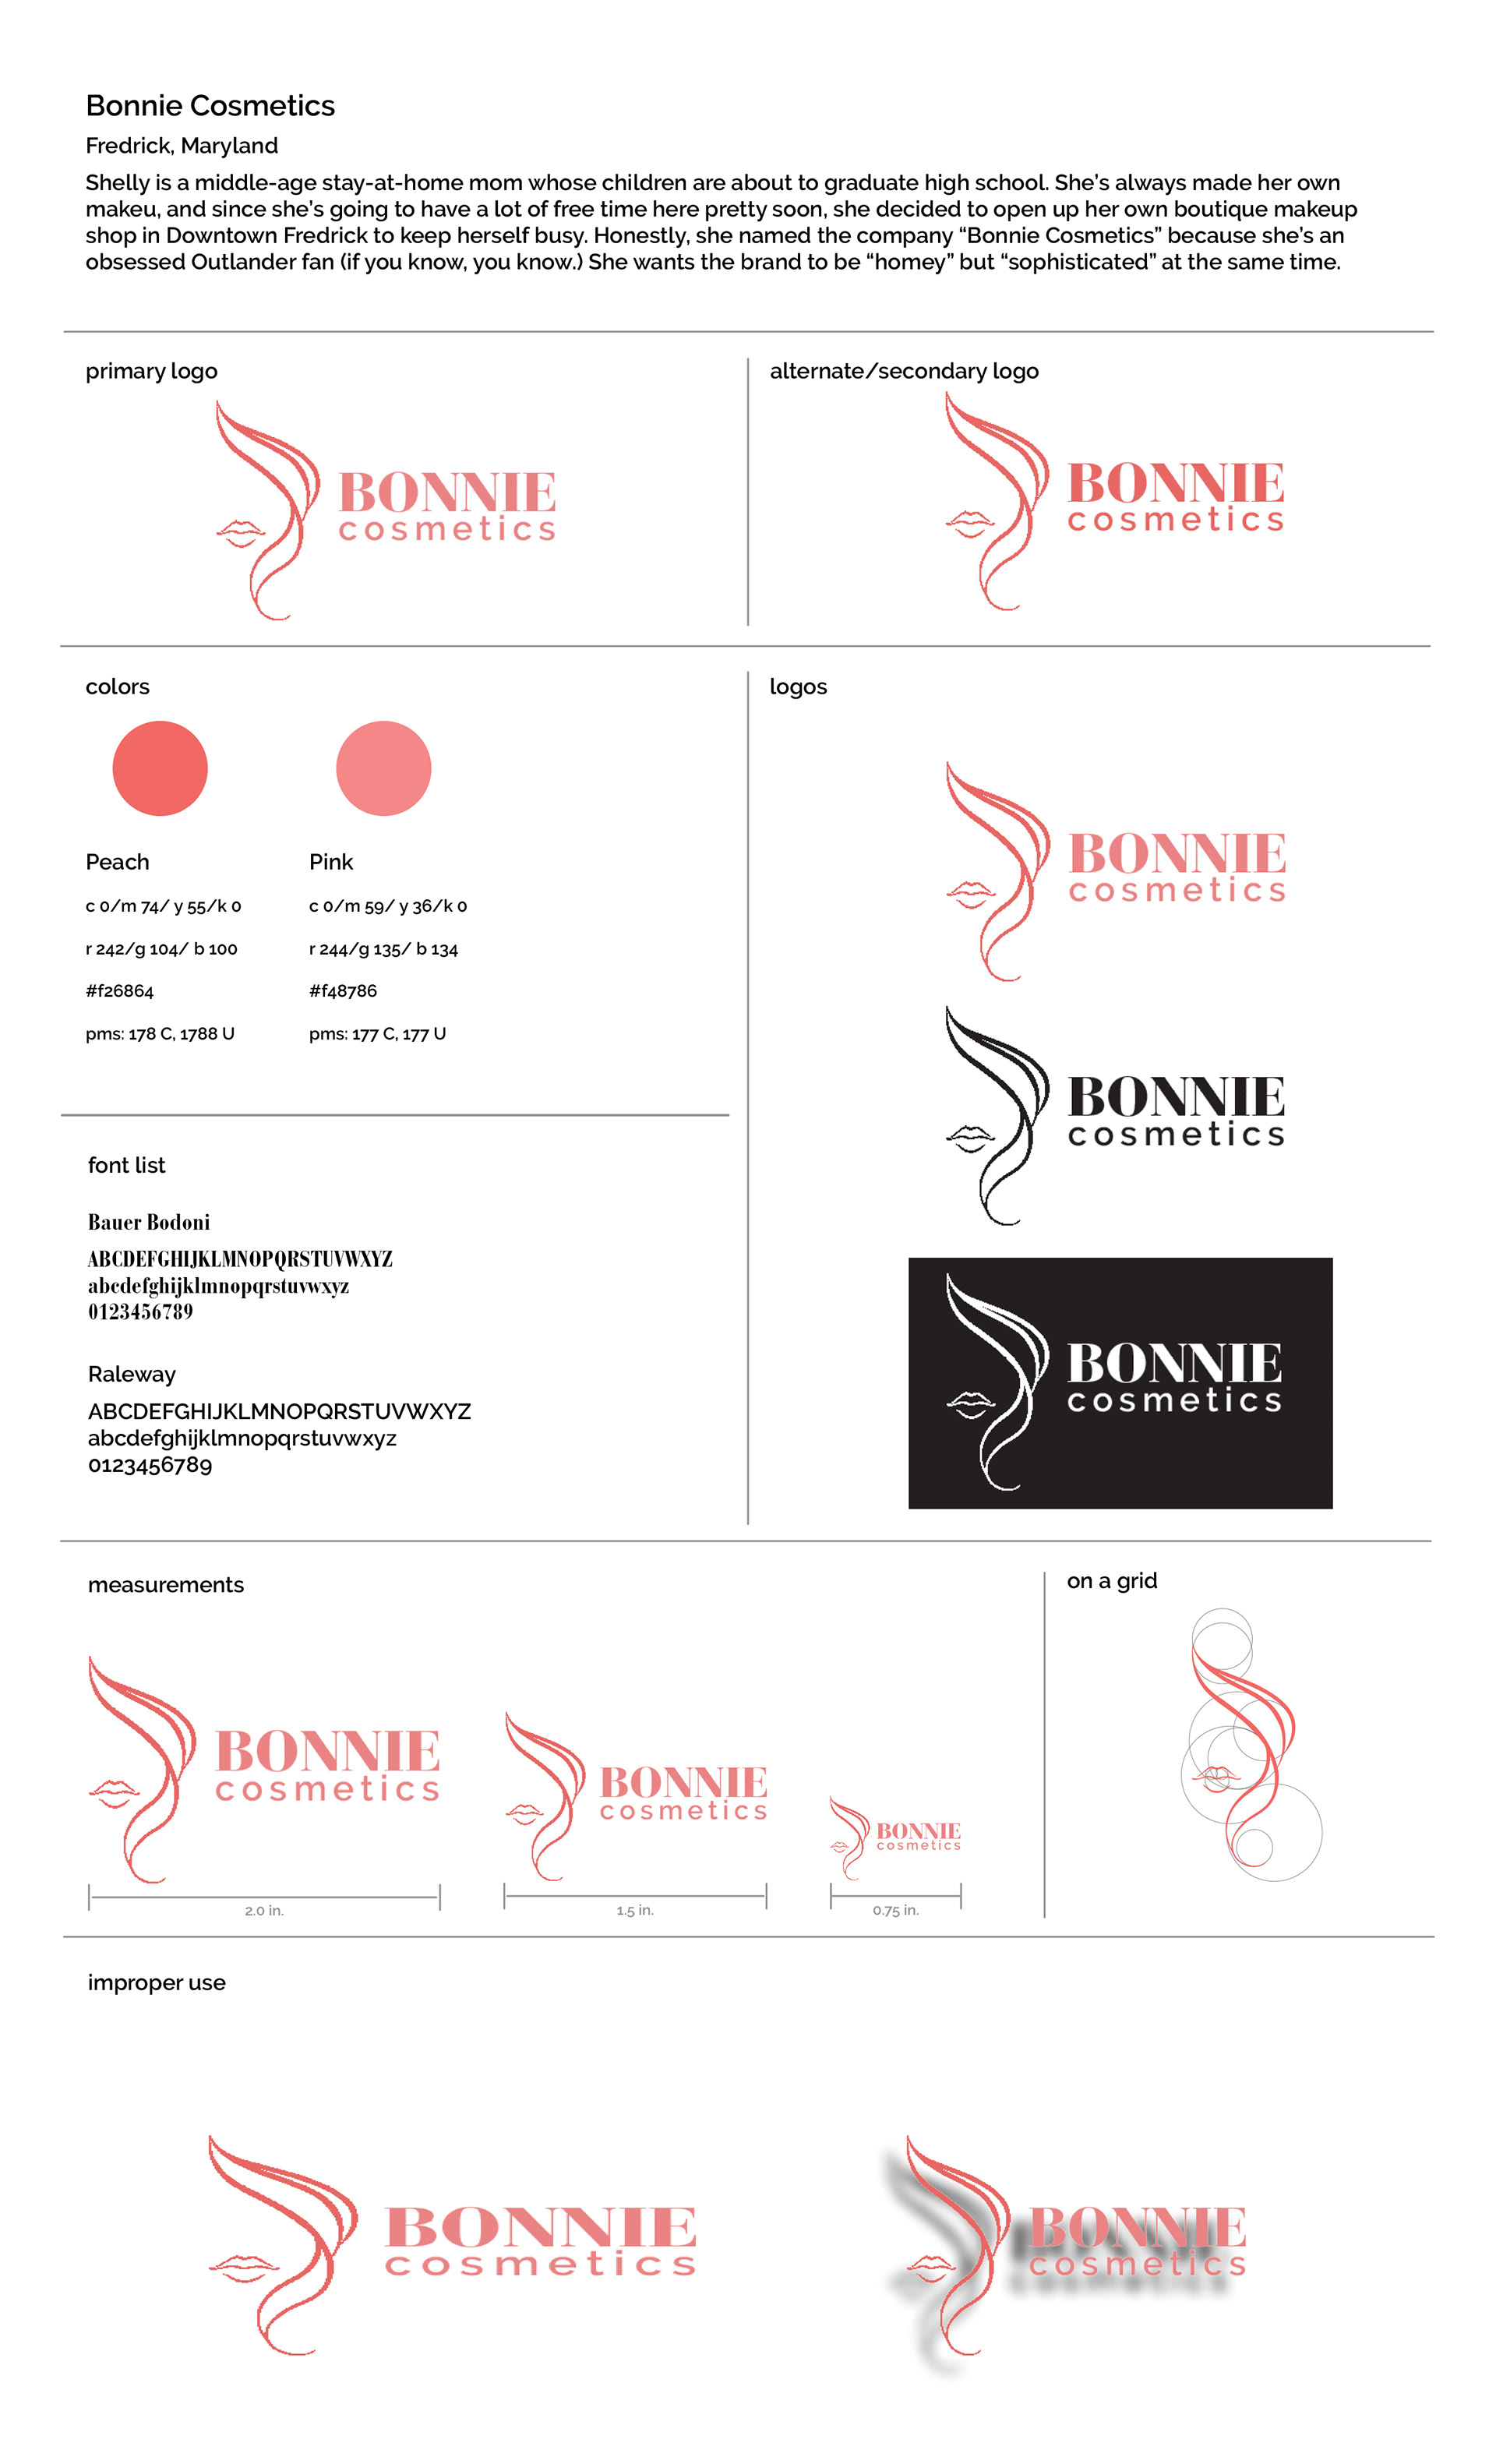
I was definitely drawn to the more floral logos. That didn’t really work for my logo but it did help me get some ideas. I also decided to do my logos in a smaller stroke because of logos I saw online that used a similar technique.
Thumbnails:
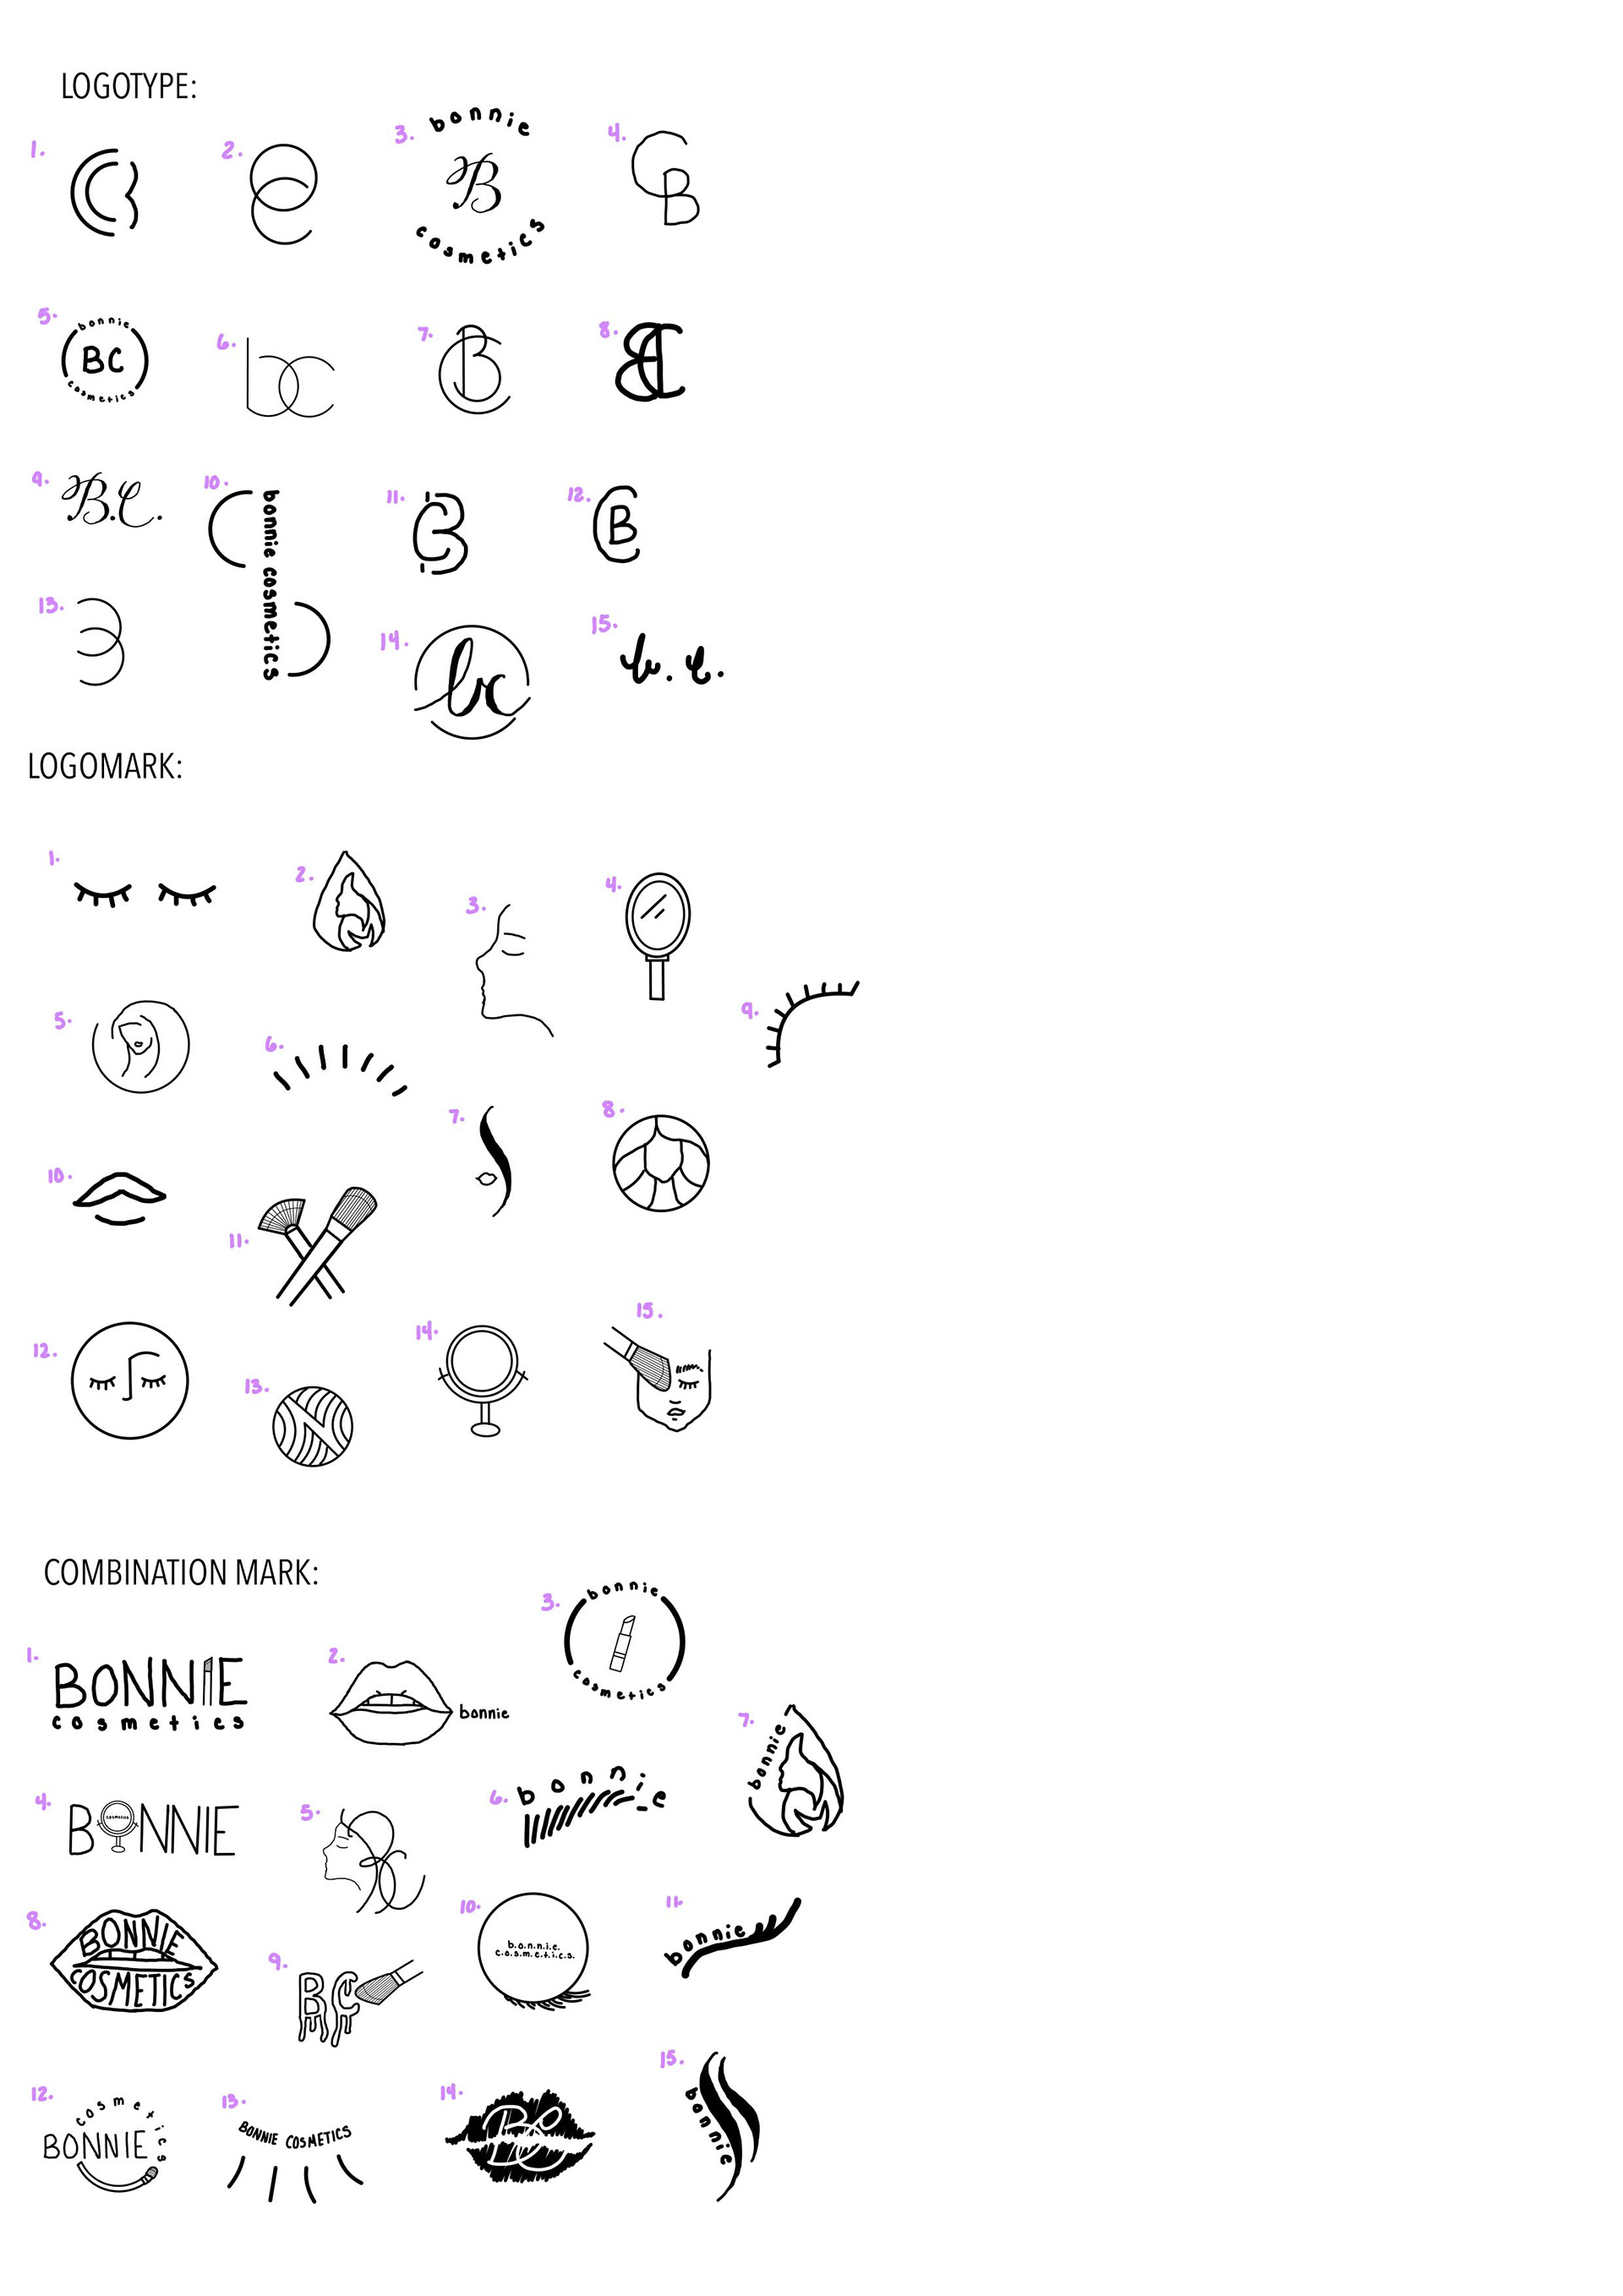
Creating thumbnails is a step that is necessary in order to start the creative process for any project. This is a way for students to get out their ideas and figure out which ones work and which ones don’t.
We had to make 30 thumbnails for each mark. The process got tricky after a while because I was running out of ideas. Ironically, some our my later ideas are what I took to the final.
Roughs:
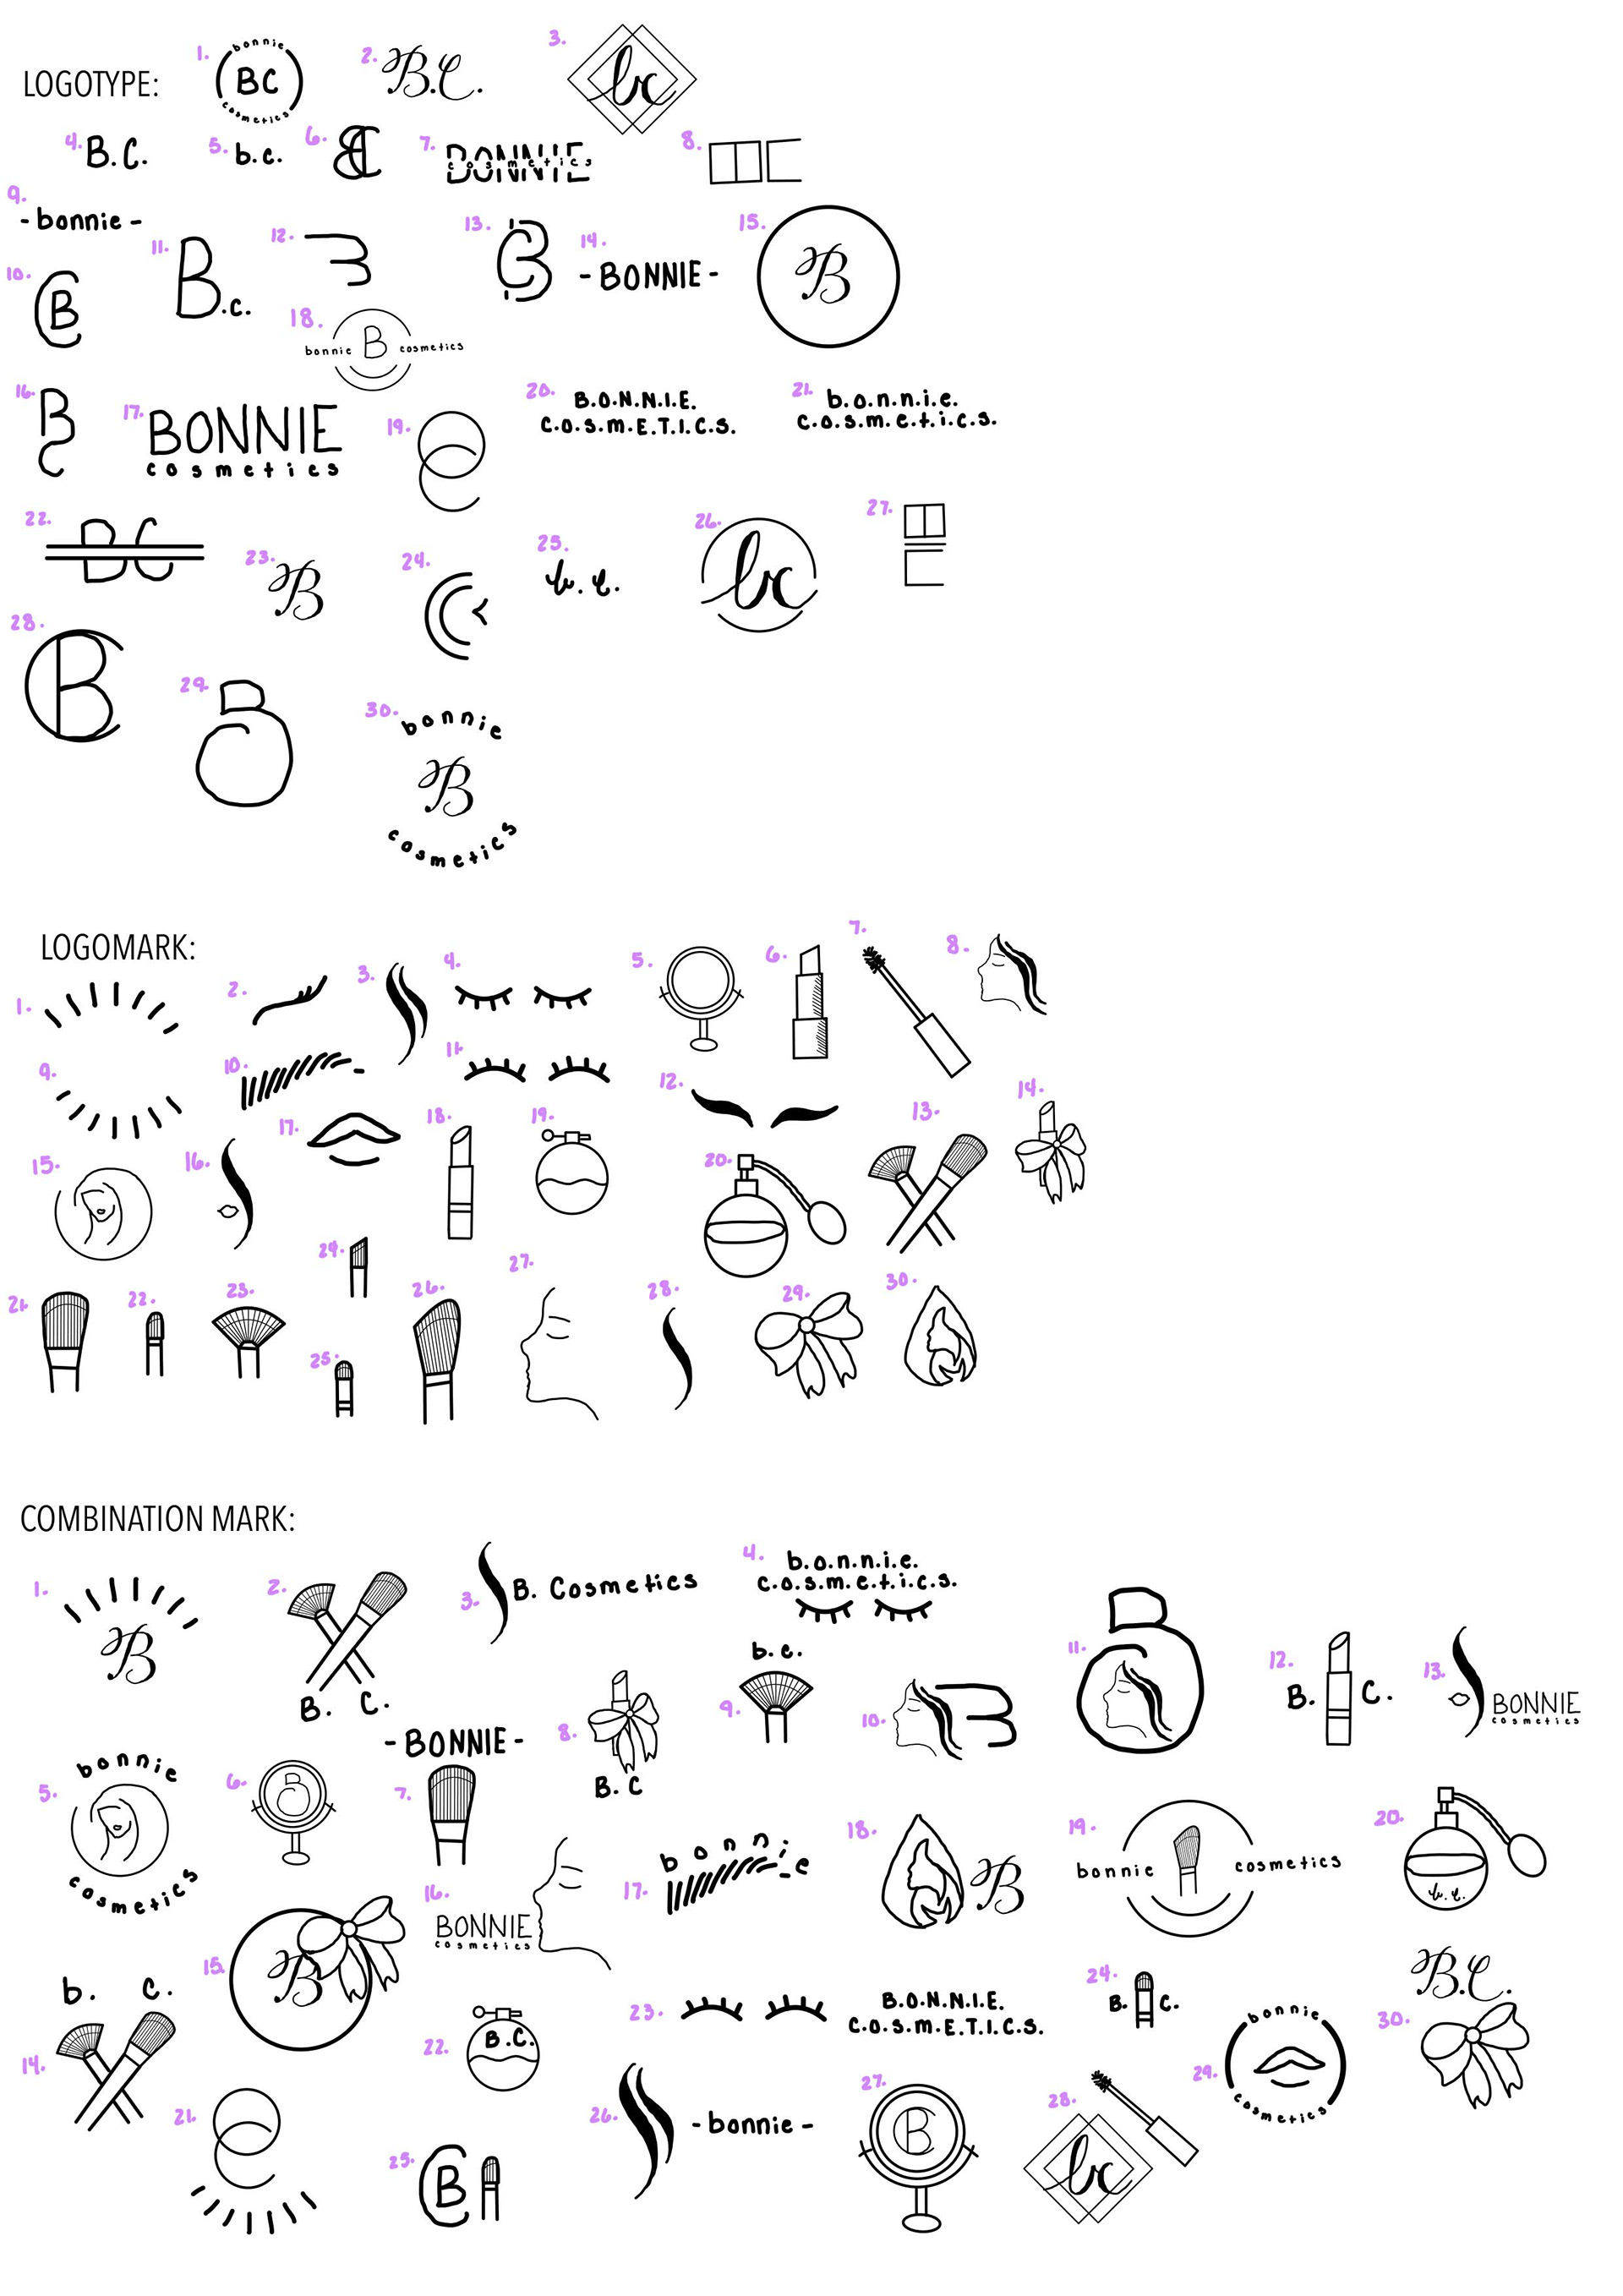
Creating roughs is the next step in the creative process. This is where students begin going through feedback and figuring out which renderings they want to continue improving.
At this stage, I was trying to figure out which path was the best to take. I had multiple ideas and I just had to narrow it into one for each mark.
Revised Roughs:
We decided to go through the refining process one more time. At this point, I had a pretty good idea of what I wanted to do. I just needed to mess around with these ideas a little bit more. I changed the color and played with the overall size and stroke of the logos.
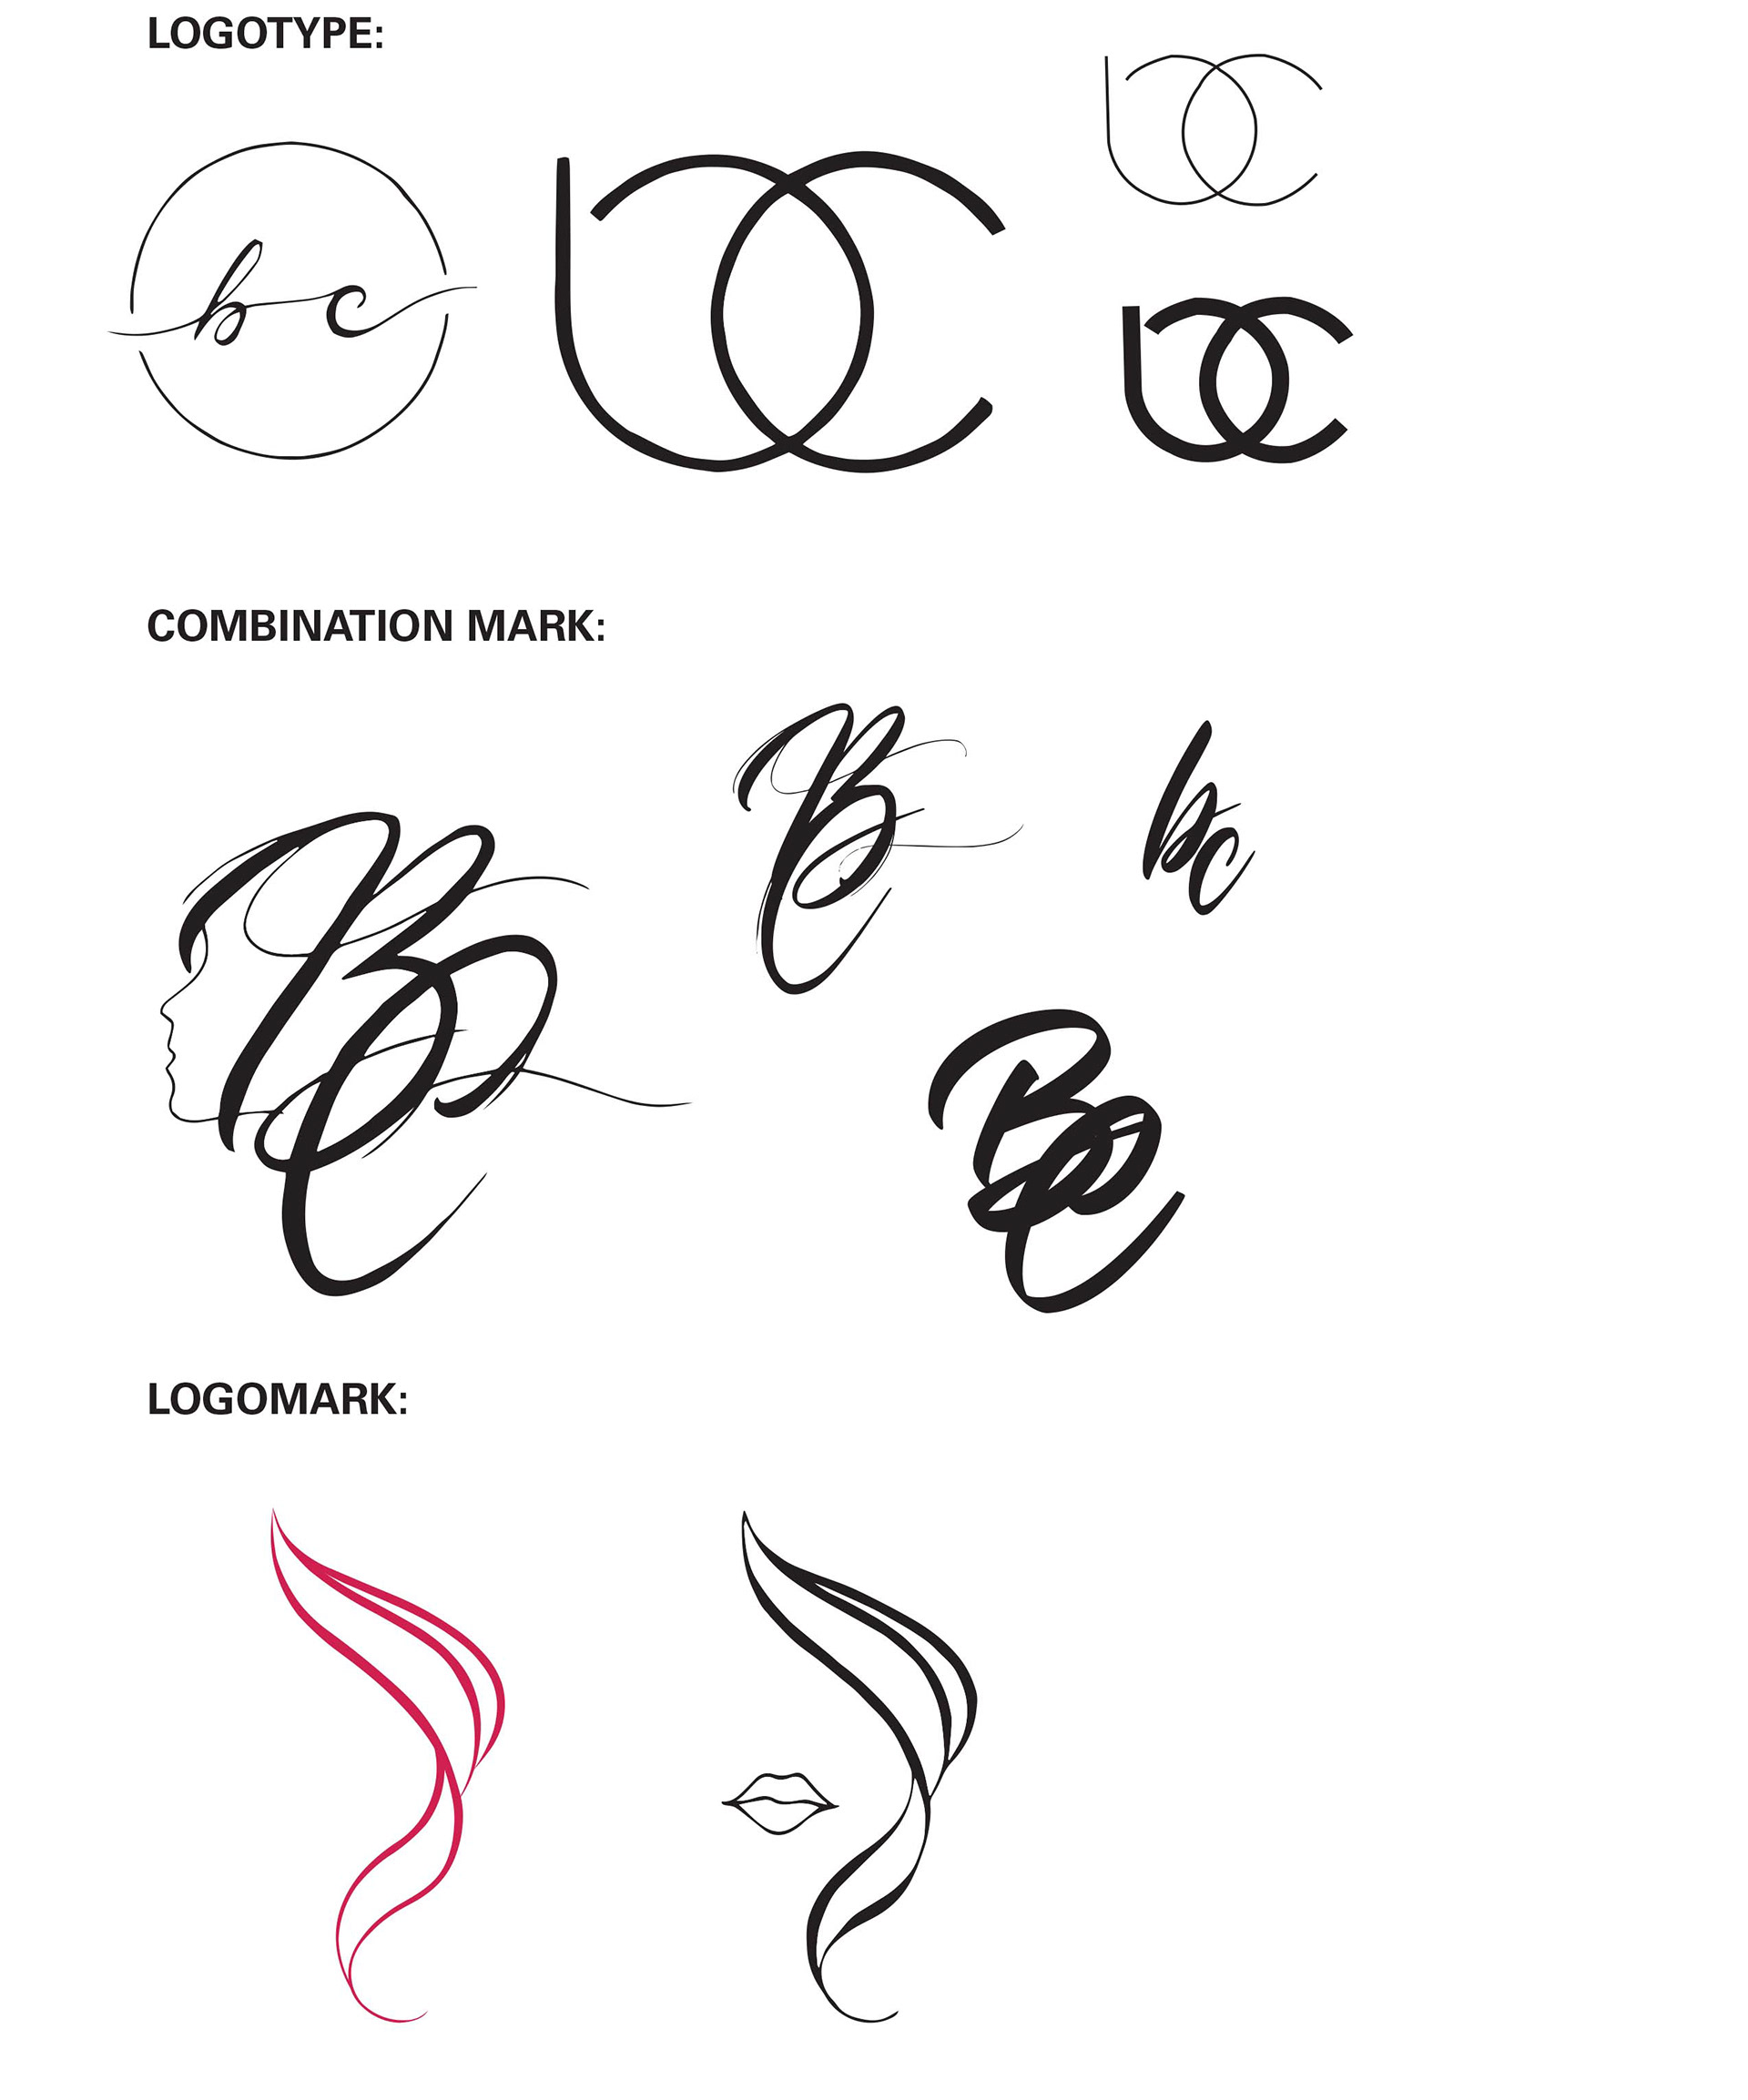
Tight Roughs:
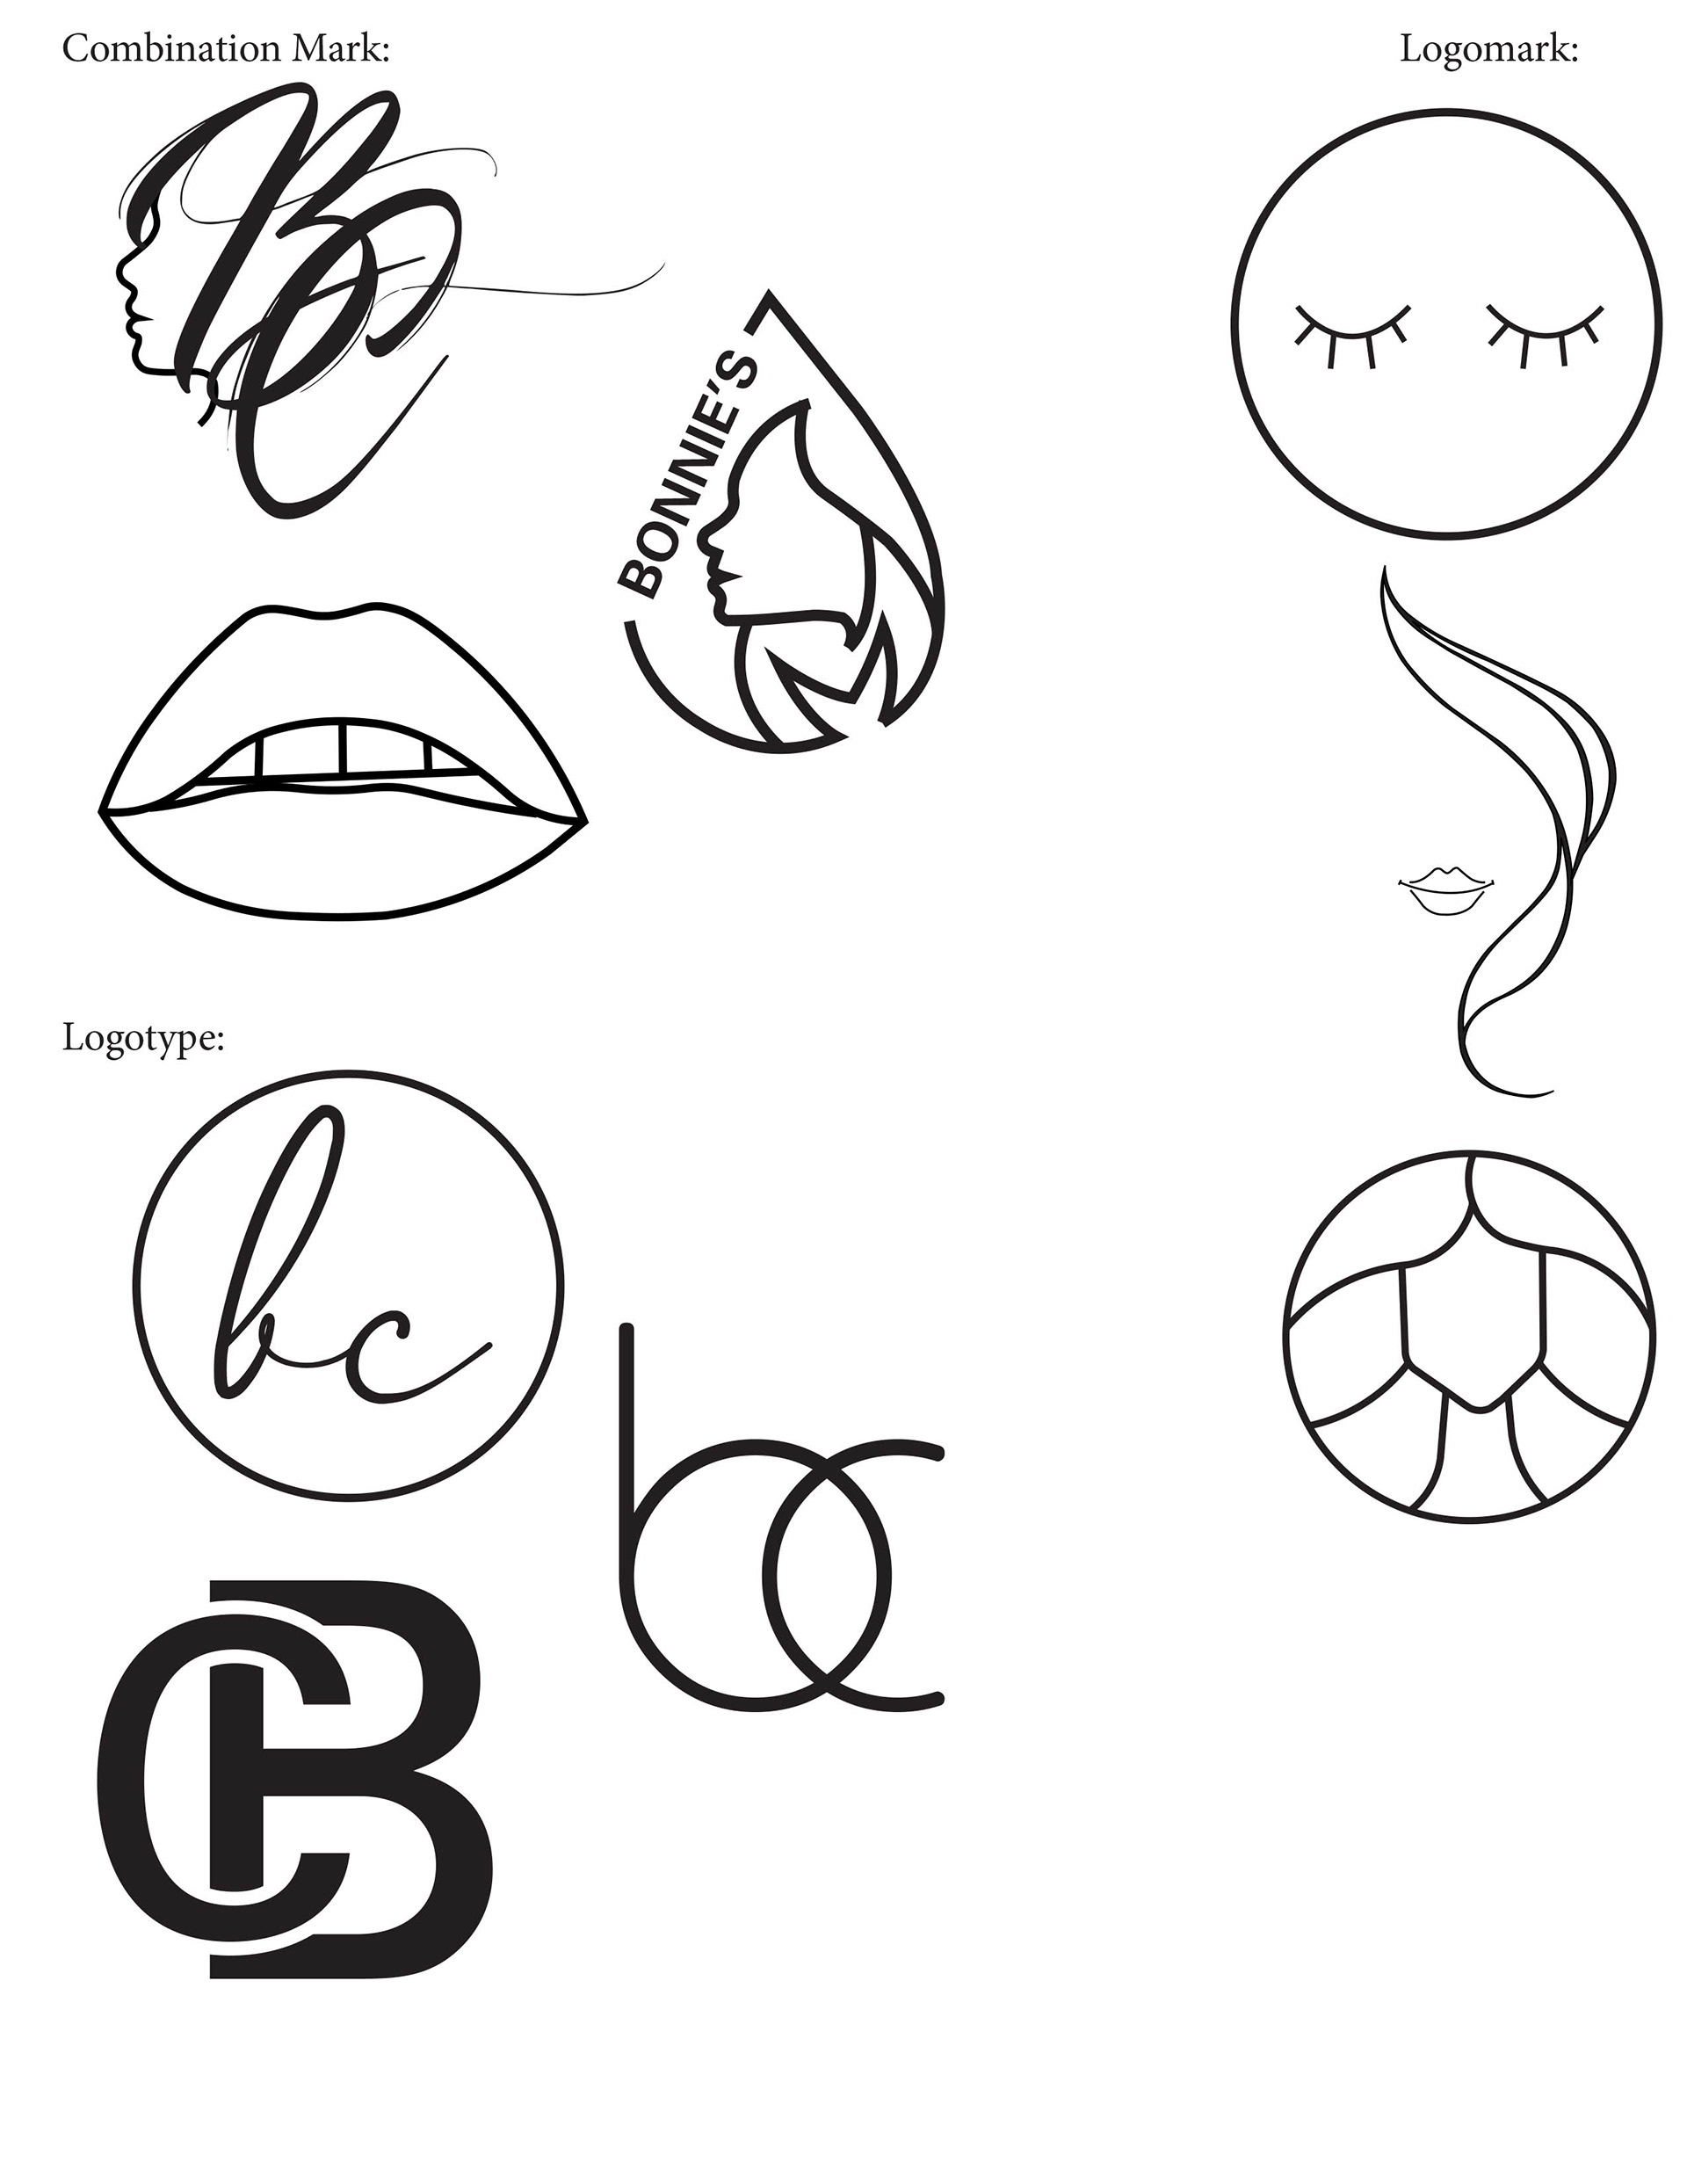
This is simply the next step in any design process. During the rough stage, designers are often still getting rid of all their bad ideas. This is a step in which a designer will find a style or design that they like and work hard to make it work.
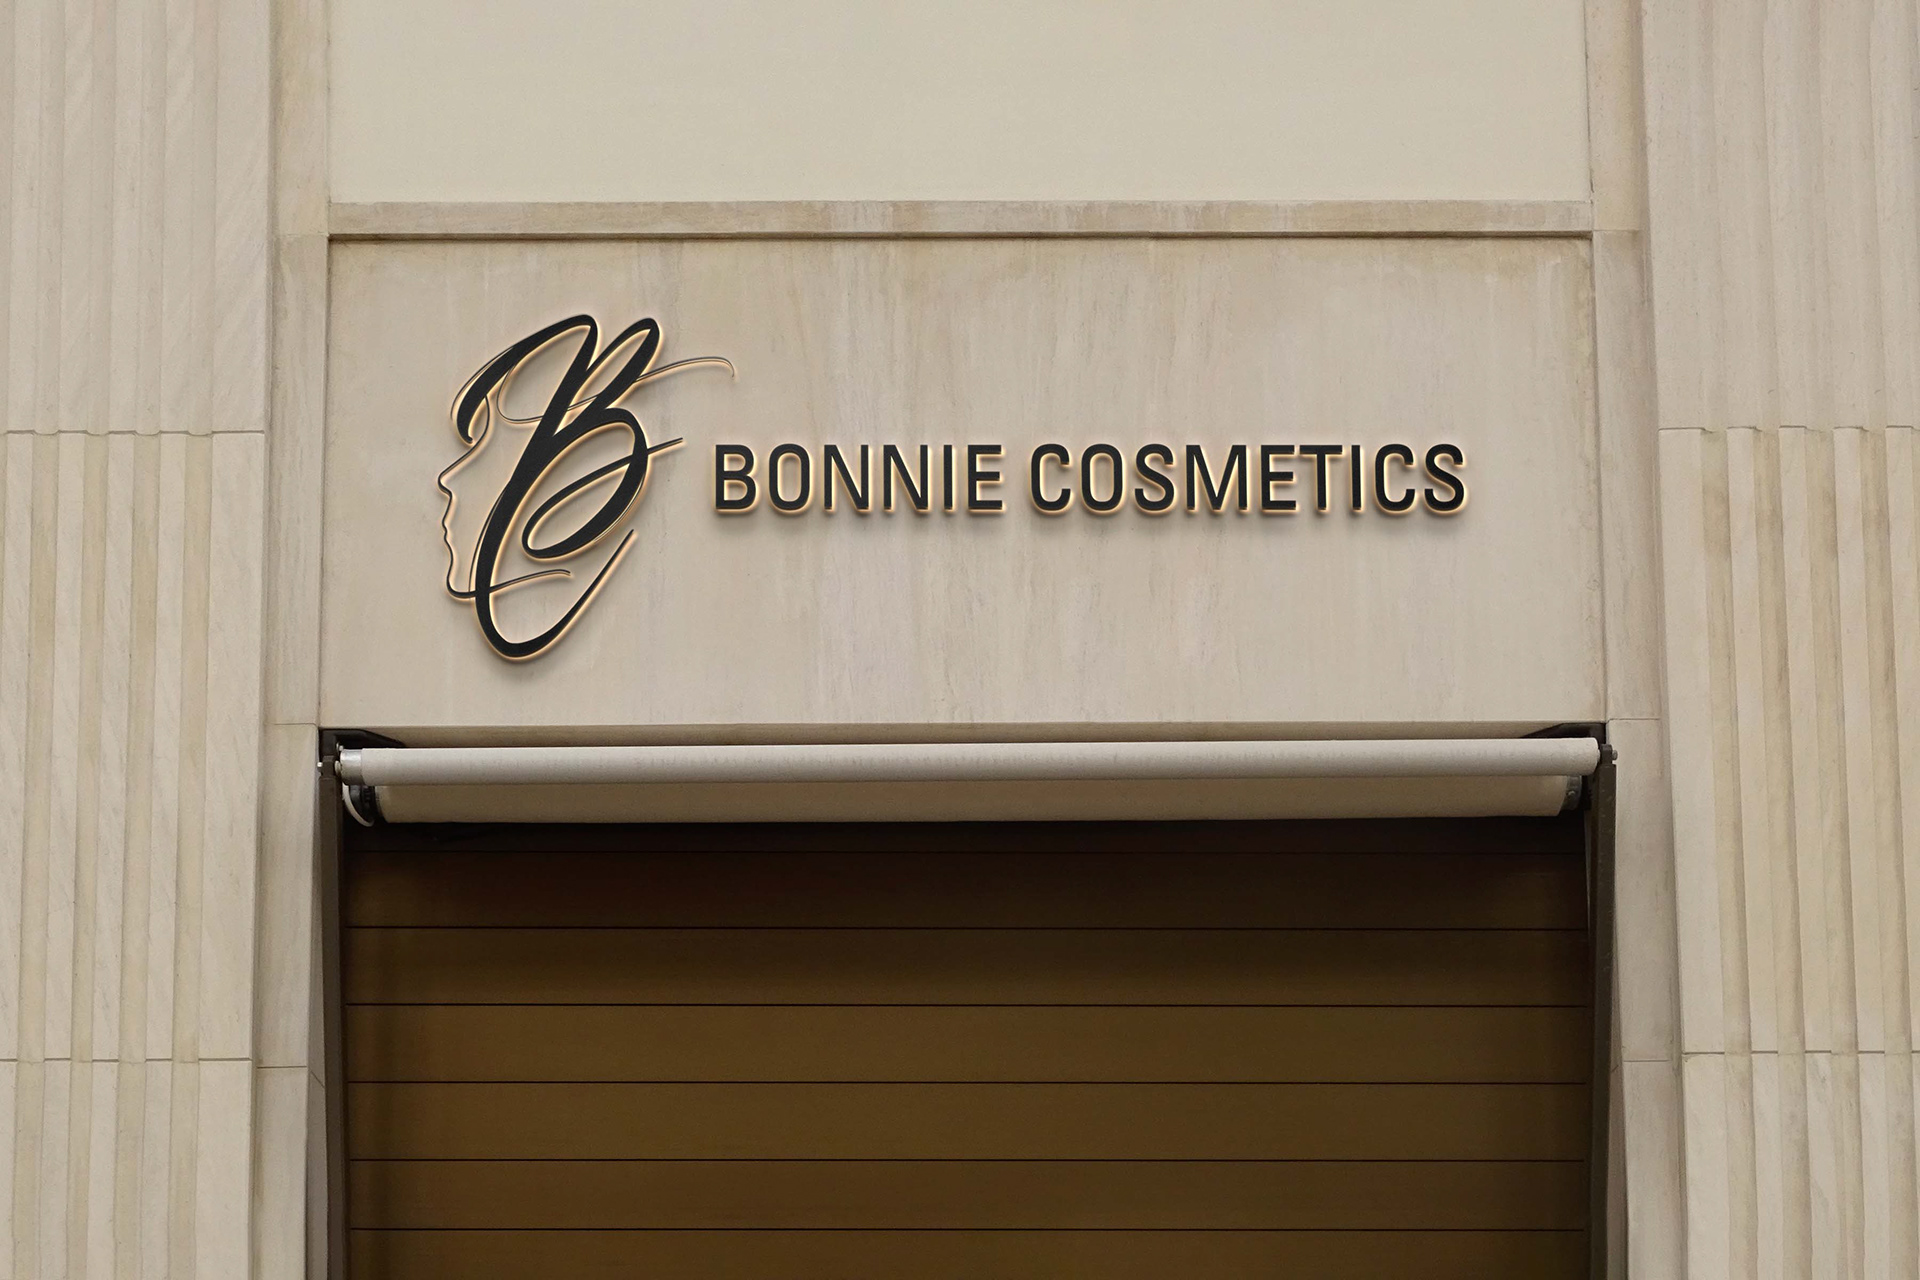
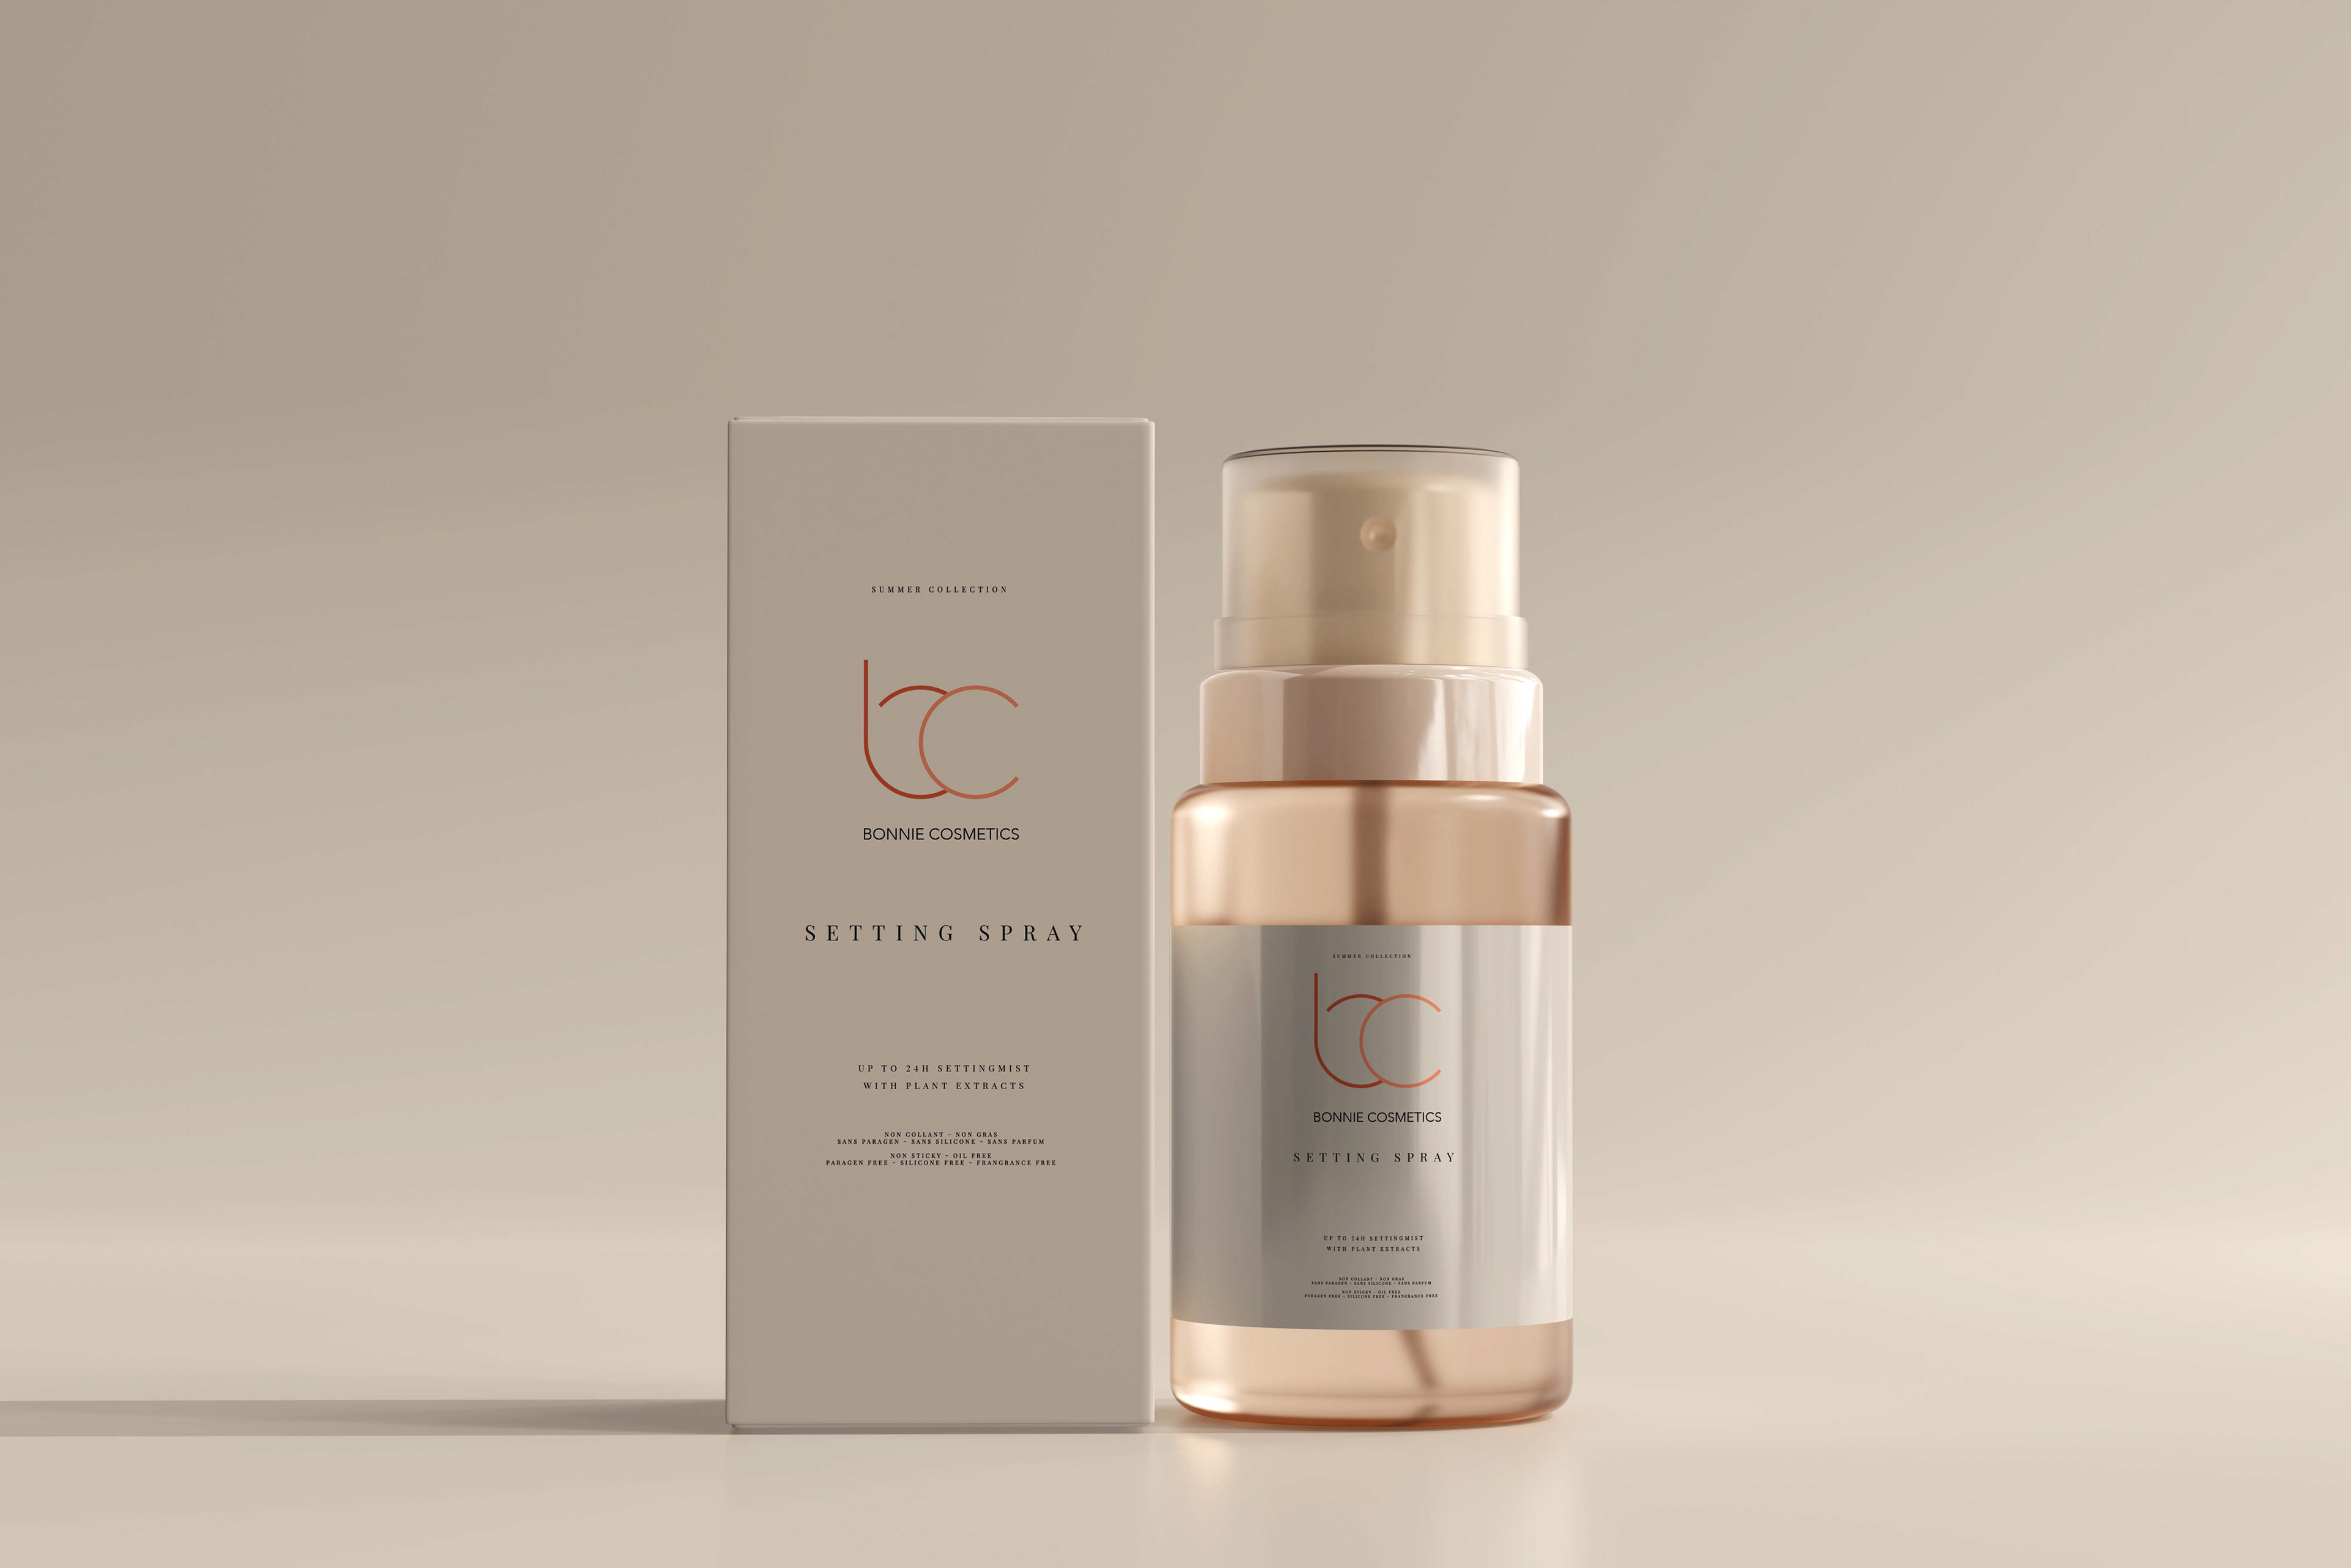
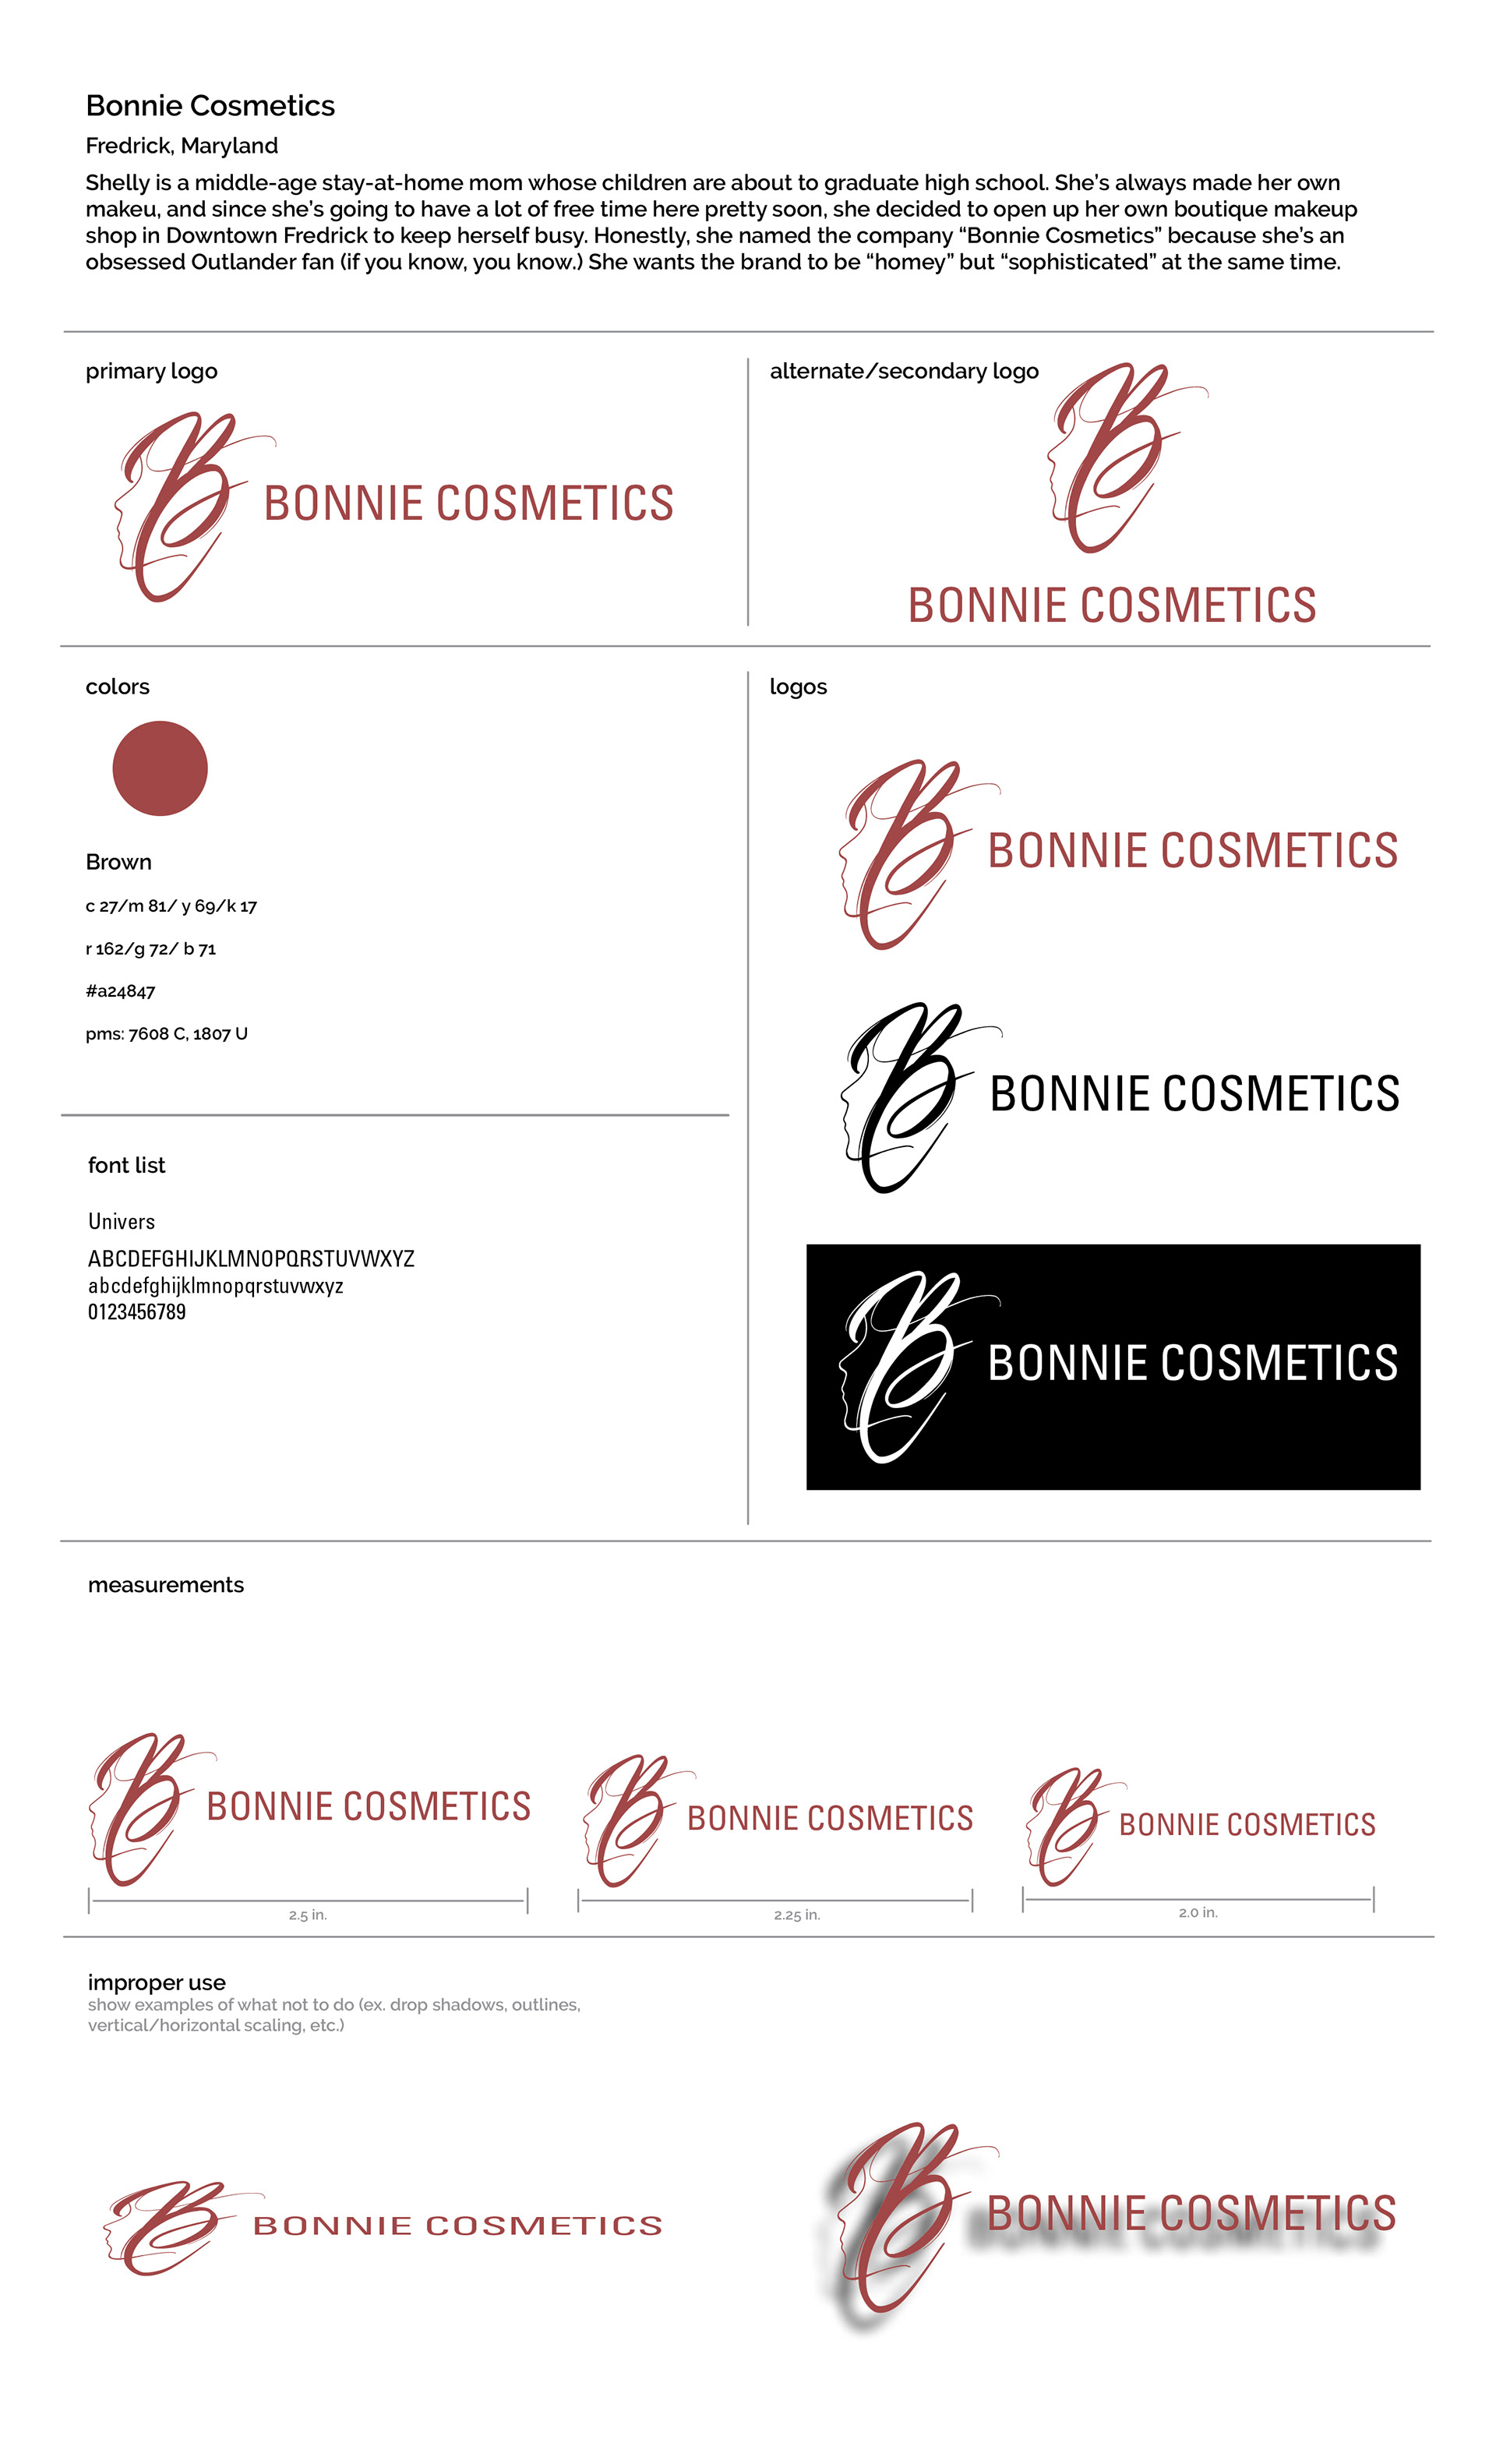
At this point, I was almost done. This is what I wanted my logos to look like. All I really needed to do was add the name of the company into the logo since that’s something that was incorporated into the marks.